PL
PL Article
How to set the white balance to get a good photo?
Correctly adjusting the white balance in photography is a common problem for many novice photographers. Those who want to guard against photos with unnatural and unwanted colors should read our guide. In it, we describe what white balance is and how to set it so that the photos you take are professional and the colors in them look natural and true to life.
What is white balance?
A beginner photographer often has all sorts of problems in taking professional, good quality photos. If you do not want to be one of them, you should learn a little theory related to photography. That way you will be able to put it into practice later and avoid making some mistakes. So what is worth knowing to start with? Among the most common questions asked by amateurs is the issue of what is white balance.
Explaining in a nutshell, white balance is a camera parameter that is responsible for the natural and corresponding to reality color of an image in a given light. It affects not only white, but also every other color visible in the picture by giving them a cool, neutral or warm tint. Each light source has an assigned color temperature, which is expressed in Kelvin. This is what the white balance refers to. Therefore, it is worth remembering that in order for the white elements of reality in the photo to also be white, the white balance must be set correctly.
How to set the white balance in the camera?
Setting the white balance is complicated and requires some practice. However, when the automatic mode fails, you should take the opportunity to set this parameter yourself. Manual setting of the white balance often takes too long, so it is worth using personalized profiles. With them at work, you don’t have to move the slider every time you need to take care of the colors in the photo, but you must remember that the given settings can be used in certain lighting conditions – they won’t work in others.
Wanting to set the white balance yourself, you can also use the slider with the given value in Kelvins. It allows you to manually control the color temperature. This is a time-consuming method, as it requires checking many different settings, but it allows you to perfectly adjust the parameters to your needs. However, this tool is used more by professionals.
Color temperature vs. white balance
Color temperature is closely related to white balance. We distinguish between warm and cold light, and you can recognize them with the naked eye. Cold colors are those that fall into blue tones, and warm colors are shades of yellow and orange. Color temperature is determined using the Kelvin scale. The lower the value, the warmer the light, and the higher the value, the colder the light. For basic needs, to get good quality photos, just remember that:
- daylight is 5500-6500 K,
- fluorescent light has 4000-5000 K,
- sunrise/sunset has 3000-4000 K,
- artificial light (for example, incandescent bulbs) has 2500-3200 K,
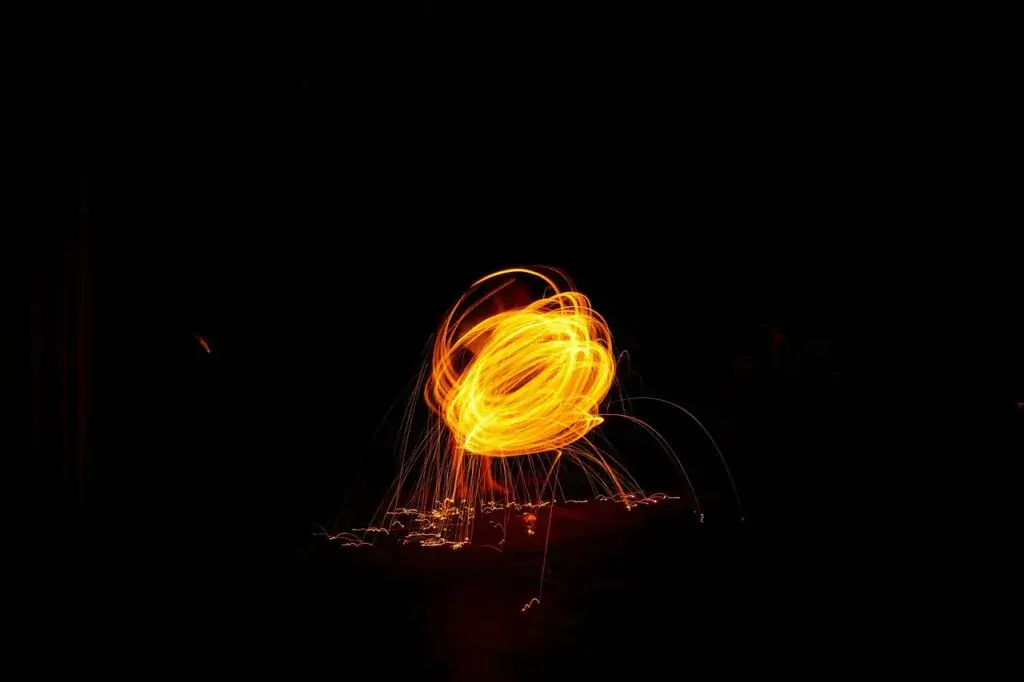
- fire (a campfire or candle, among others) has 1000-2000 K.
Setting the white balance for many people may seem extremely complicated. Remember, however, that it is actually not a simple matter and often takes a lot of time. Therefore, not only amateurs, but also professionals use ready-made profiles, programmed for a specific temperature range – there is no shame in this.
White balance is a parameter that is essential when taking professional photos. It is not easy to master, but learning at least the basics of it gives you the opportunity to obtain beautiful photographs, properly lit and of true color. By changing the color temperature, you can give the shot a cool, warm or neutral feeling. They can also be used to show feelings and emotions visible in the photo. So there’s nothing to be afraid of when trying it out, after all, you can always go back to the default settings.